Quart: A New Dress for an Old Maid
The next article in the series covering Quart comes to you from Emily Griffin. Emily is a communications developer, jeweler, mom and general DIY maven. She's also stuck with me for life! You can check out her DIY blog or Etsy store to see more.
Emily is going to cover what went into the aesthetic redesign of what is now the host for my little Raspberry Pi symbiote. I think the result is pretty awesome. Take it away Em.
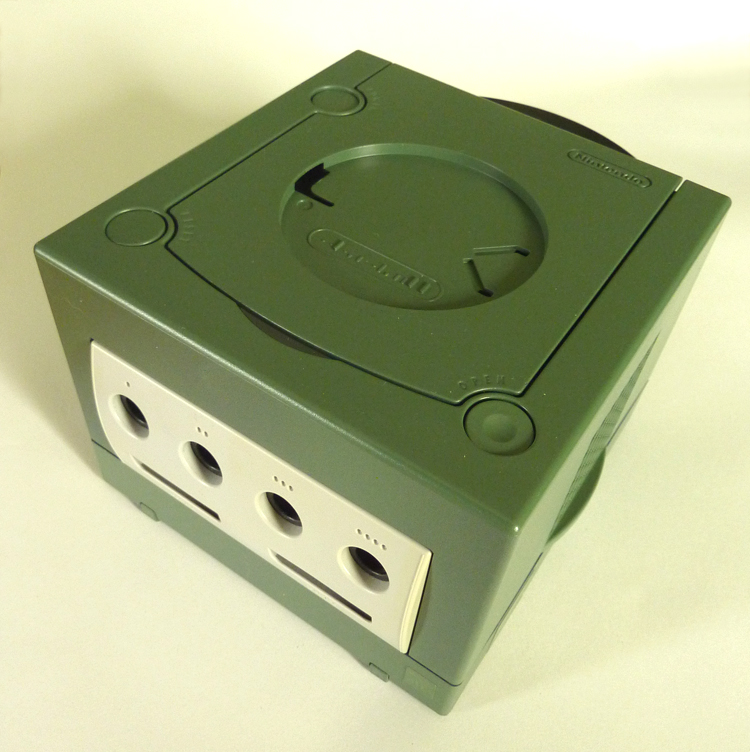
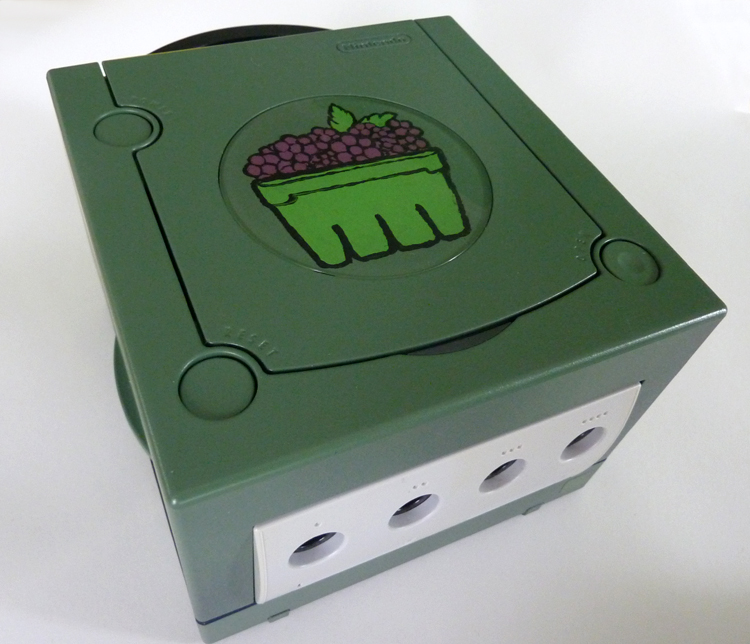
For those of you wondering when Nintendo released a green version of the GameCube - well, they didn't. Thanks to the technological advances of the aerosol paint industry, your GameCube can be any color you like!
We argued whether it's blue or purple. Apparently it's indigo.
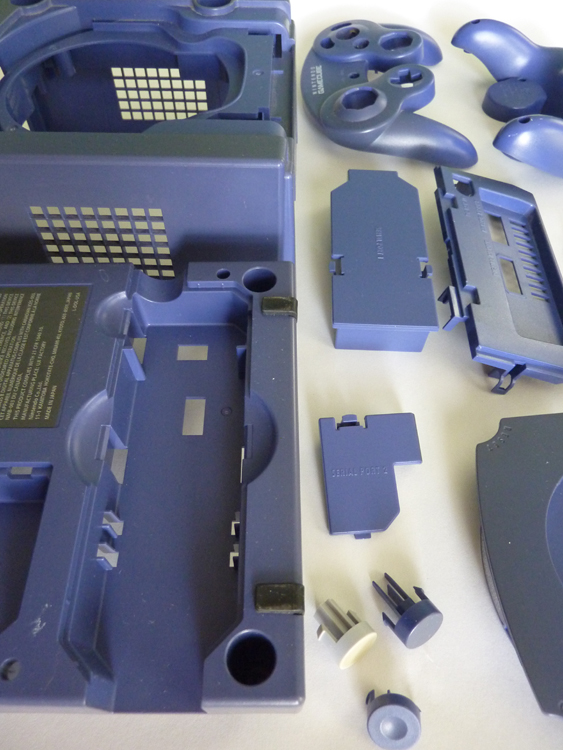
The first step was to break the GameCube down. For full disclosure, I didn't personally do this part, but I was assured that beyond the security bits, it basically fell to pieces. If you're following along at home, don't forget to take off any stickers and residue left behind. I wish I had noticed the AMD sticker on the front of the 'Cube. I gathered all the pieces, including the controller parts - and don't forget the plug end, like we did - and gave them a good wipe-down with TSP.
Before we get too into painting, an option for those of you with lighter-colored cases (white, silver, gray, etc.) may be to dye your parts instead of painting, but keep in mind that the dyes are translucent, and won't work well on darker colors.
After the primer was applied
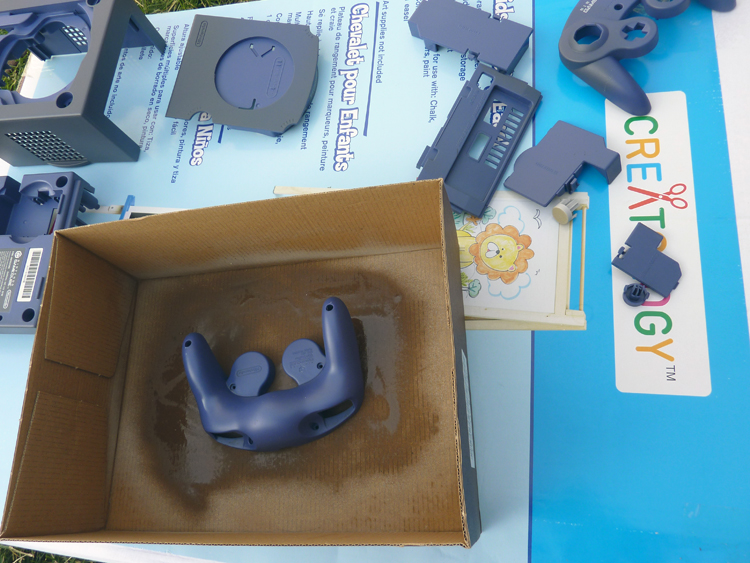
The first product I used was a clear aerosol primer that bonds with plastics made by Valspar. These come in a few colors, too, but none of them were close to what I had in mind. Once primed, you can use any regular spray paint - which opens up a wealth of color and finish options. Two coats of the primer, ten minutes apart, and then an hour of drying time before spray painting. It's worth noting that the primer was basically invisible and didn't change the texture or finish at all.
I followed up with two light coats of spray paint. It's important to keep the can 18" to 24" away from the chassis while spraying if you want to keep the detail (engraved words, textures, etc.) in your finished piece, and to avoid drips.
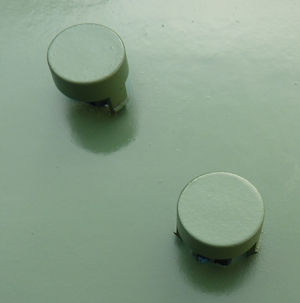 Stick the buttons in holes so you can paint the top and sides without touching them. |
 It's...missing something. |
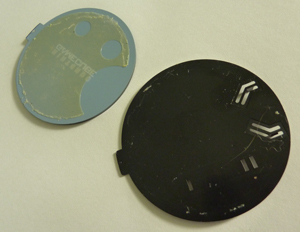 So after everything was dry and reassembled (yeah, I didn't do that part either), we were still left with the GameCube logo on the lid. Well, this is hardly a GameCube anymore, is it? After some careful reverse-engineering (read: cram fingernails in and see if it comes apart) it was discovered that the logo disc is in two pieces, glued together. A flathead jeweler's screwdriver was helpful in prying apart the two halves - but be careful, the pieces are pretty fragile. Go slowly all around the edge.
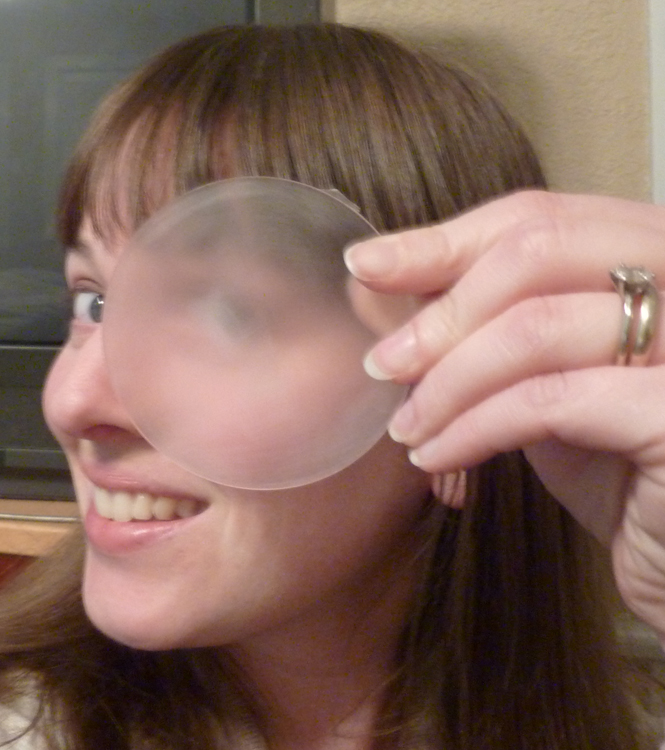
The top half is clear acrylic with the logo painted (printed? decaled?) on the back. The adhesive came off fairly easily with some Goo-Gone and a little scraping and peeling. The logo proved more challenging - I tried a few different cleaners/solvents and a Mr. Clean Magic Eraser before giving up and trying the last-resort sandpaper. While I didn't want to scratch the acrylic, there just didn't seem to be an alternative, so I set up with a 600-grit wet/dry sandpaper, the finest I could find. The sandpaper easily took off the logo and didn't even leave the disc too terribly scratched, but it did look a little cloudy.
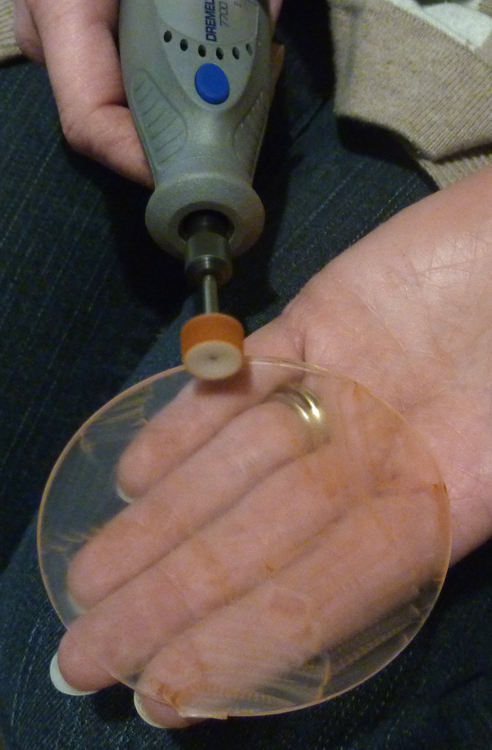
I'm always looking for a reason to bust out my Dremel, so I decided to give the acrylic a quick buff with some polishing compound. The disc looked good as new (except where I accidentally chipped off the edge - whoops.)
 This is way easier than airbrushing! |
 Buffing your skin is not recommended. |

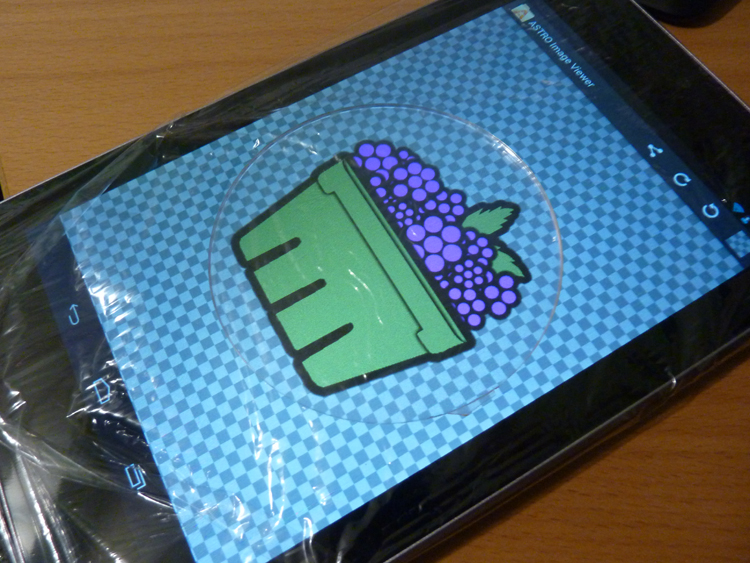
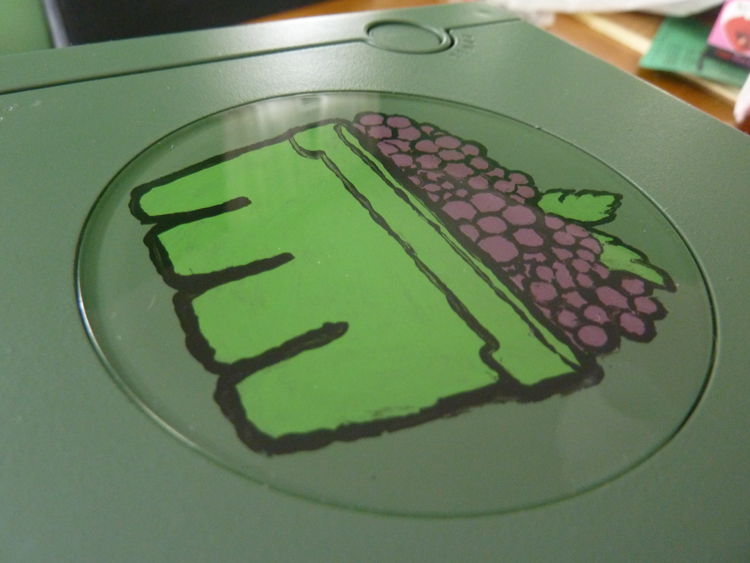
Now, if I wanted to do things the easy way, here is where I would have printed off a copy of the logo and sandwiched it back between the two pieces of the disc. But that's no fun, is it? A unique piece of hardware like this deserves a unique logo - so I decided to hand paint it on the back of the acrylic. (Actually, my printer is out of ink. And I'm cheap.)
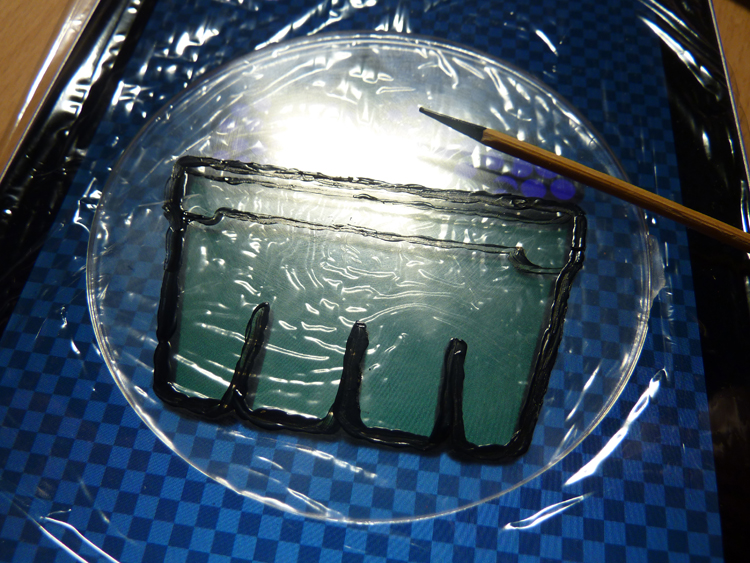
Here's my setup: plastic-wrap covered tablet with the logo at the appropriate size (plugged in, with the screen set to stay on, of course), acrylic paints, teeeeny tiny brush, a wooden skewer, and a table lamp. I reversed the logo on the screen and centered the top disc on the plastic wrap.
Again, a functioning printer may have been useful here...
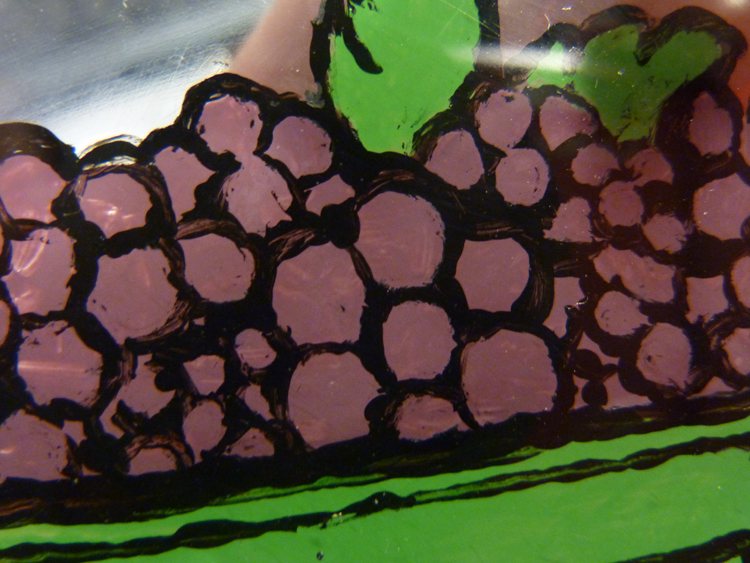
First, I traced the outline - that way, I didn't need to be too careful while I colored. The skewer was useful in scraping and pushing paint if I needed to change the lines a bit.
 |
 |
When the outlines were done, I removed the disc from the tablet and flooded the interior parts with colored paint.
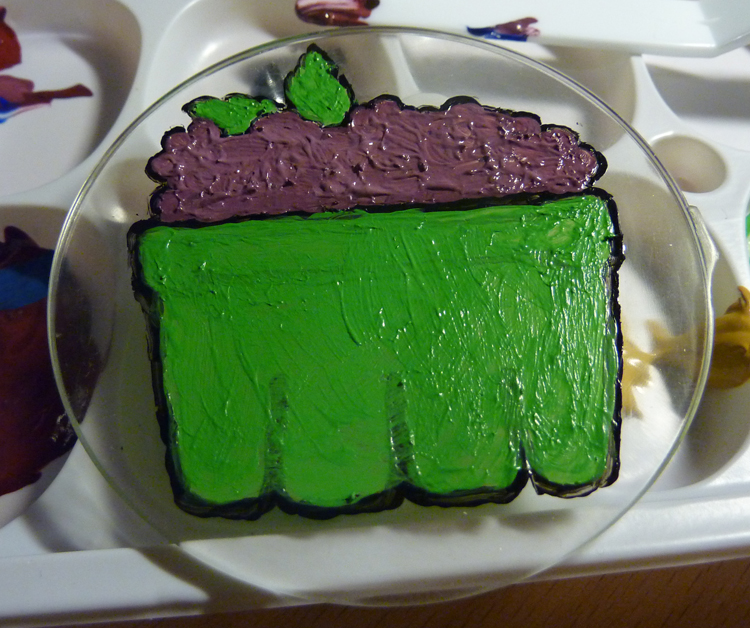 |
 It occurred to me that using a Sharpie would have been tons easier, and that I was a masochist to make all those tiny berries. |
Let dry overnight, hit the back with a quick shot of spray paint, put the discs back together, and voila!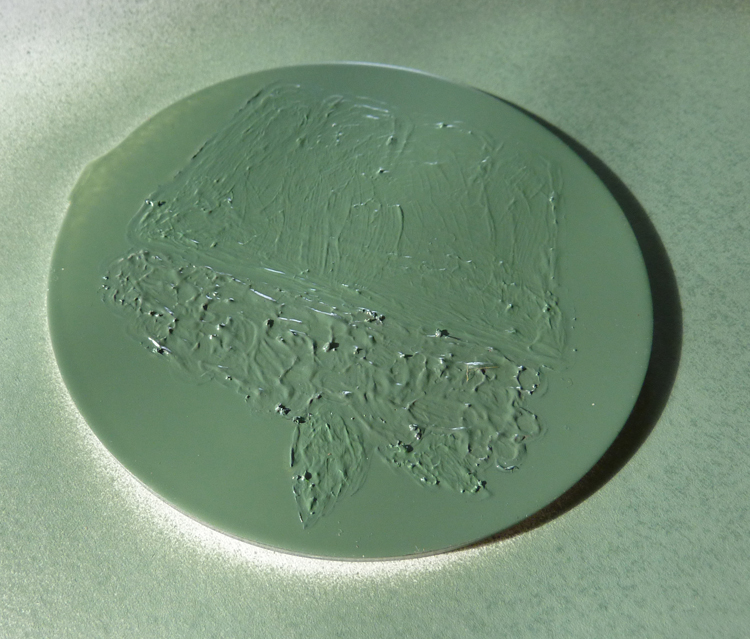 Quart's new skin!
 |
 |
Quart: (Re)Enter the Gamecube

In the last post I laid out the motivation for the little network appliance I've dubbed Quart. The reason for the name is that I'm enclosing and operating a Raspberry Pi inside the nearly-quart-sized Nintendo Gamecube, which has been collecting dust in the basement for the last six years or so, since we replaced it with the Wii.
Why Gamecube?
After all, this system lived out a relatively short tenure as a video input in our household and doesn't evoke the same nostalgia as, say, Super Nintendo (or more in my case, Commodore 64). In fact, the short answer to the question above is: We couldn't find the Super Nintendo. But having decided on the Gamecube, I hit on a number of other great qualifications that make RPi and Gamecube a delightful abomination.
Cheap and Available
I hit on this already. What else are you going to do with the bloody thing? If you still own a Gamecube, you likely have a Wii as well. The Wii is, of course, fully backward compatible. So your Gamecube is either on your shelf, or the one at your local game trader; waiting to be sold for a pittance.
Relatively Small
We saw Nintendo and competitors take drastically different paths for the first time in this generation. Sony and newcomer Microsoft came out with their enthusiast-oriented powerhouses, while Nintendo released the smaller, lower-powered, inexpensive Gamecube. Admittedly it's still quite a bit larger than cases made to fit a Pi snugly, but it cleanly exposes the required controller ports, power and reset buttons.
Serviceable
Once you get past the four blasted security screws on the bottom, and start pulling it apart you may start noticing how well the various concerns are isolated and accessible. We end up using precious little of the remaining guts, but the wheat is cleanly separated from the chaff. More details on this later.
Buttons
Remember, one of the major requirements for this system is that all user functions will be available via the gamepad. Gamecube controllers have an ample number of inputs, and even sport some fairly modern concepts, like analog triggers, which make XBMC navigation a far more pleasurable experience.
Features
All four control ports are fed to GPIO and are functional using Markus Hiienkari's work with the original Linux gamecon driver by Vojtech Pavlik, and some modifications.
Runs OpenELEC, forked to support SDL gamepad input and modified gamecon driver.
Integrated power button and LED
Integrated reset button
Integrated classic power and AV cables

Standard male USB A cable with power leads spliced to the original Gamecube power adapter. Splice is concealed in a small, clasped component case.

Small Cat 5 extension surfaces below the chassis, and can be enclosed under the "Hi Speed Port" placeholder.